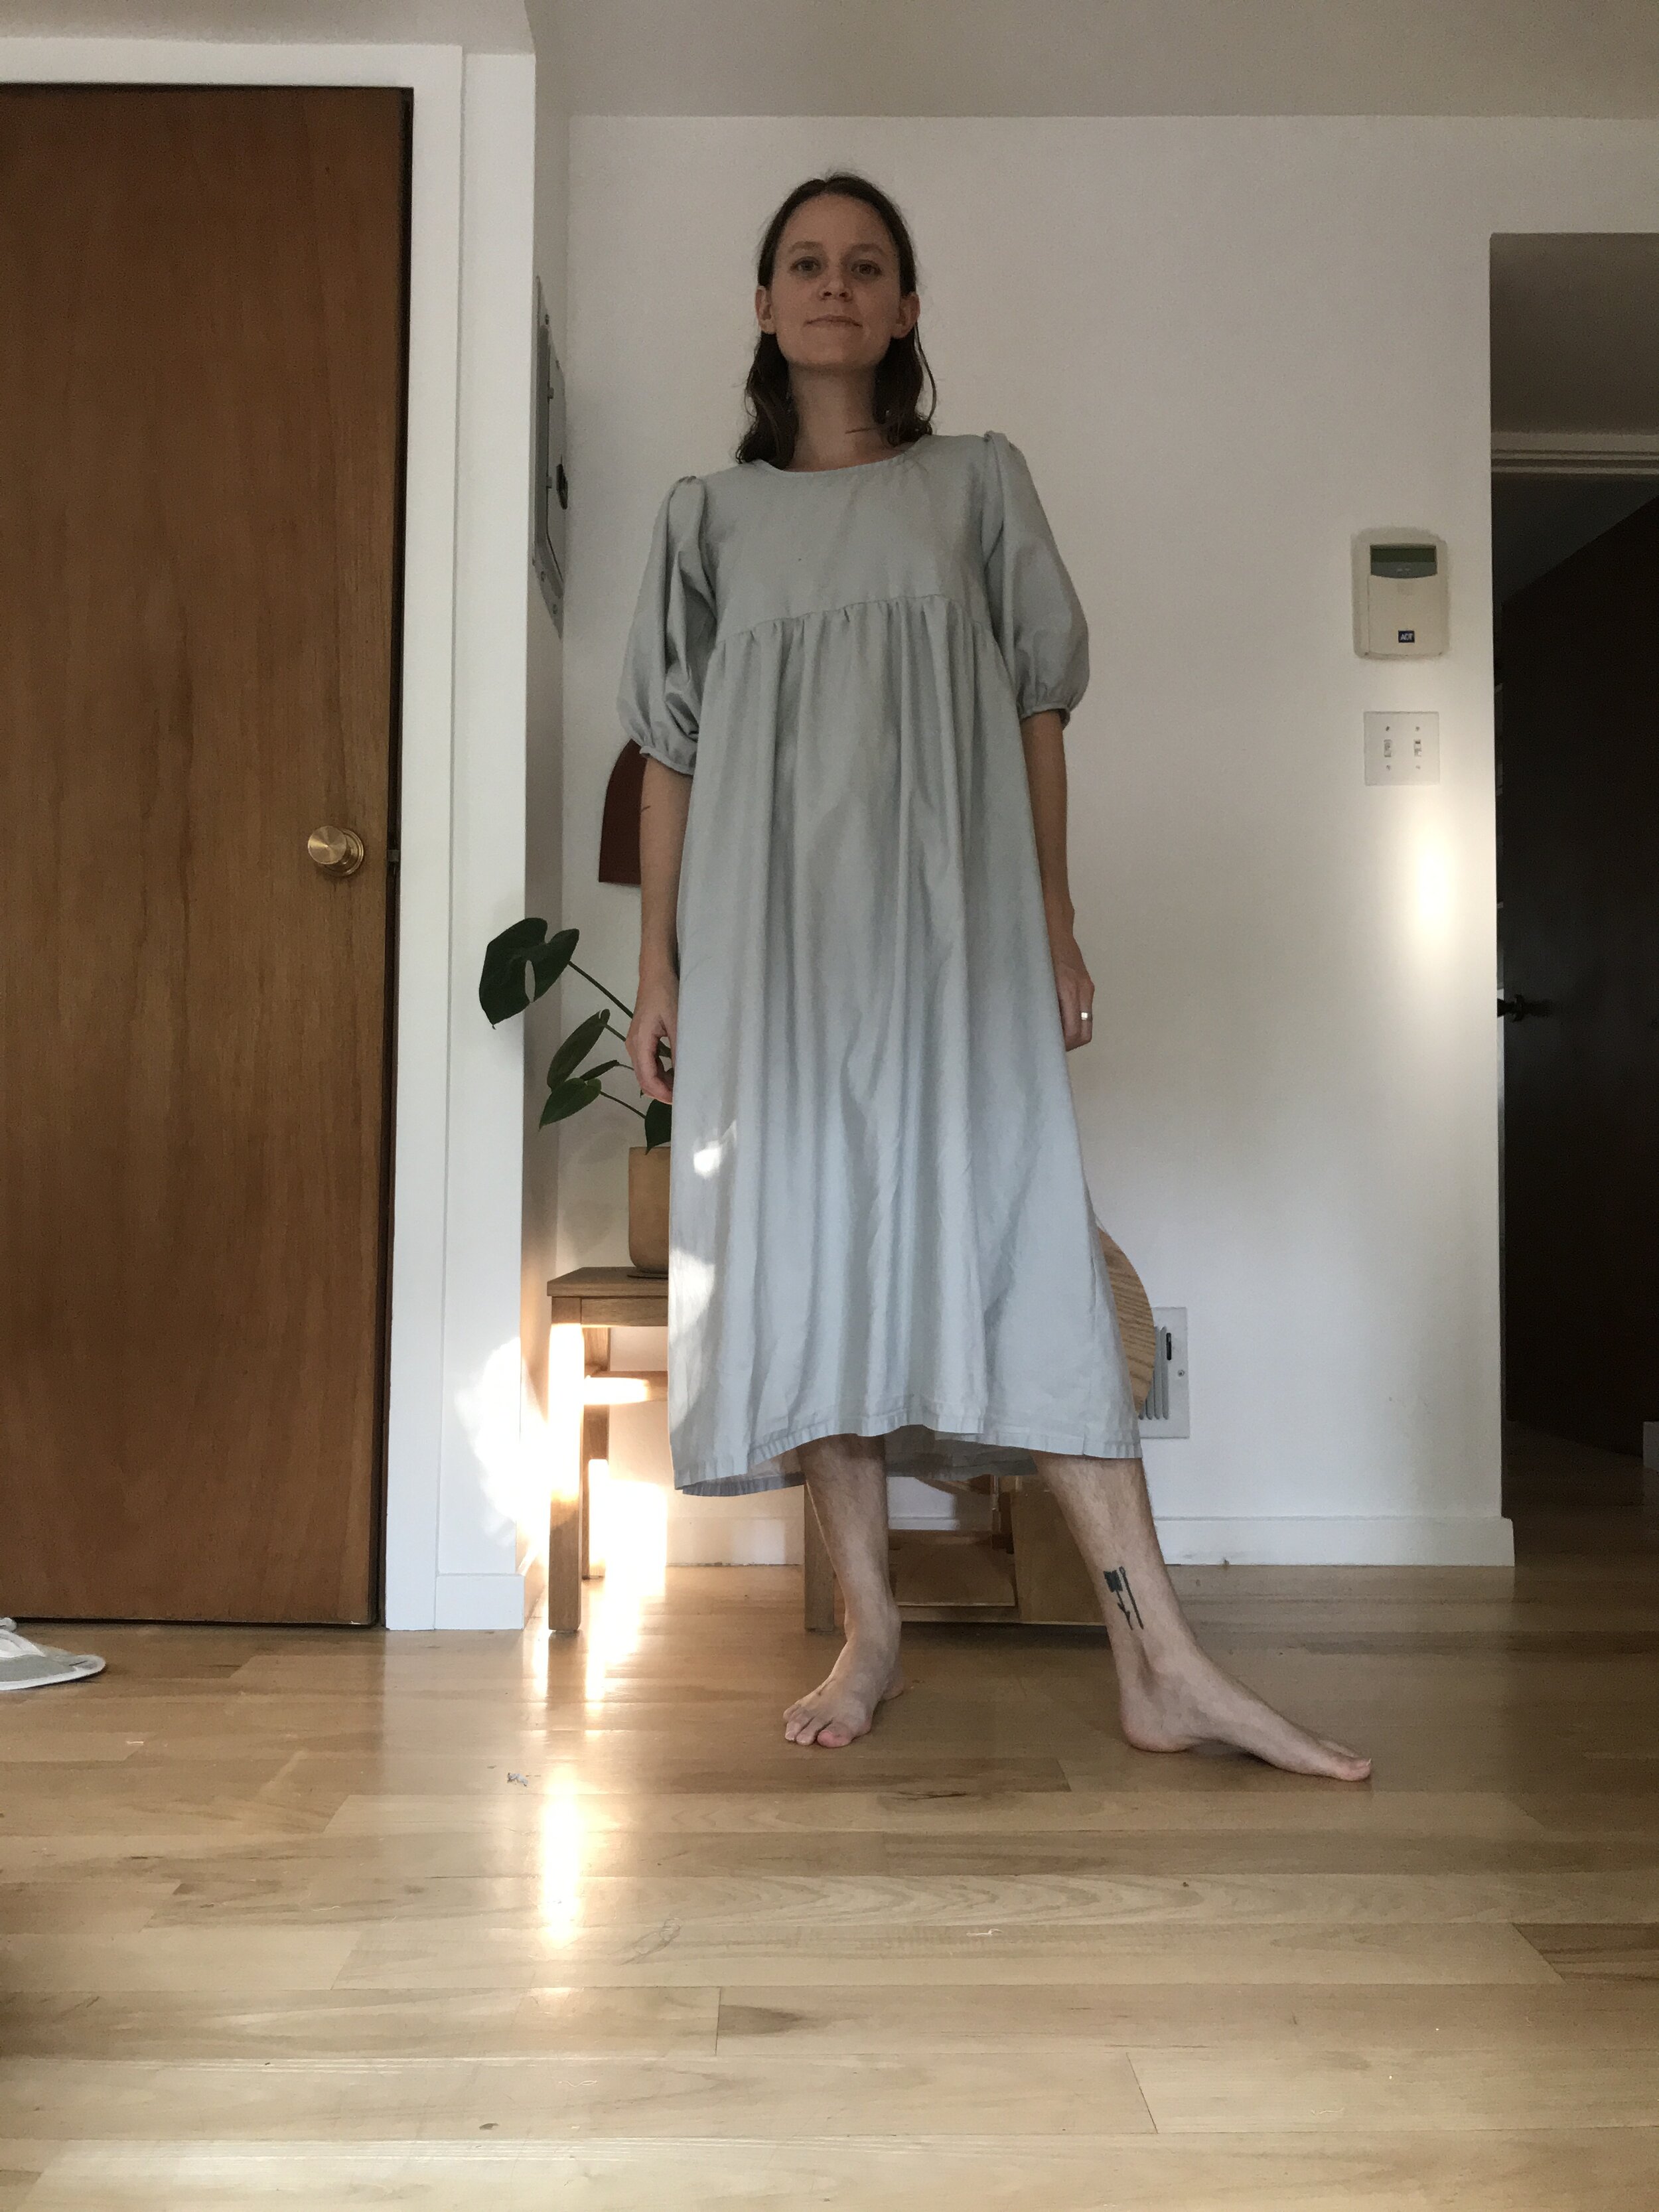
How I made this: Puff Sleeve Dress (The Second)
if you’re an instagram user, I’ve saved all of my sewing adventures with a bit more detail in story highlights on my account - should that ever interest you
Along the same lines as my first bed sheet puff dress, I wanted to turn the leftover fabric from an ikea bedsheet (used primarily as a backing for the quilt I made for the quilted wiksten haori I made) into another dress I’d enjoy wearing.
This time, I wanted to learn some new skills along the way (and make a better-construced garment), so I did my first french seams, and I eased my sleeves into the sleeve holes (I think that’s the way you say it?) instead of constructing in a bit more poorly (as with the first puff sleeve dress). Which is to say that I sewed the shoulder seams and side seams of my bodice before attaching my sleeves (I did the opposite the previous time).
Instead of making a rectangle for the bodice (creating dropped sleeves), I used my Dress No 2 pattern piece as a template to trace a slightly more fitted bodice (see below - but note that I didn’t end up cutting a sleeve shape, I just cut a rectangle & gathered it) that would leave the puff starting at my shoulder as opposed to mid-bicep.

The sleeve puff was limited by the amount of fabric I had - if I’d had more, I’d have made an even puffier puff. I gathered the skirt of the dress, using the original hem from the bedsheet as its hem (easy life hack), and I bound the sleeves with an invisible stitch.
It left me with some small scraps, which will likely become a miniature version of the dress, because how could I not?