
How I made this: Stained Glass Dress
Alt title: Election Week Self-Soother

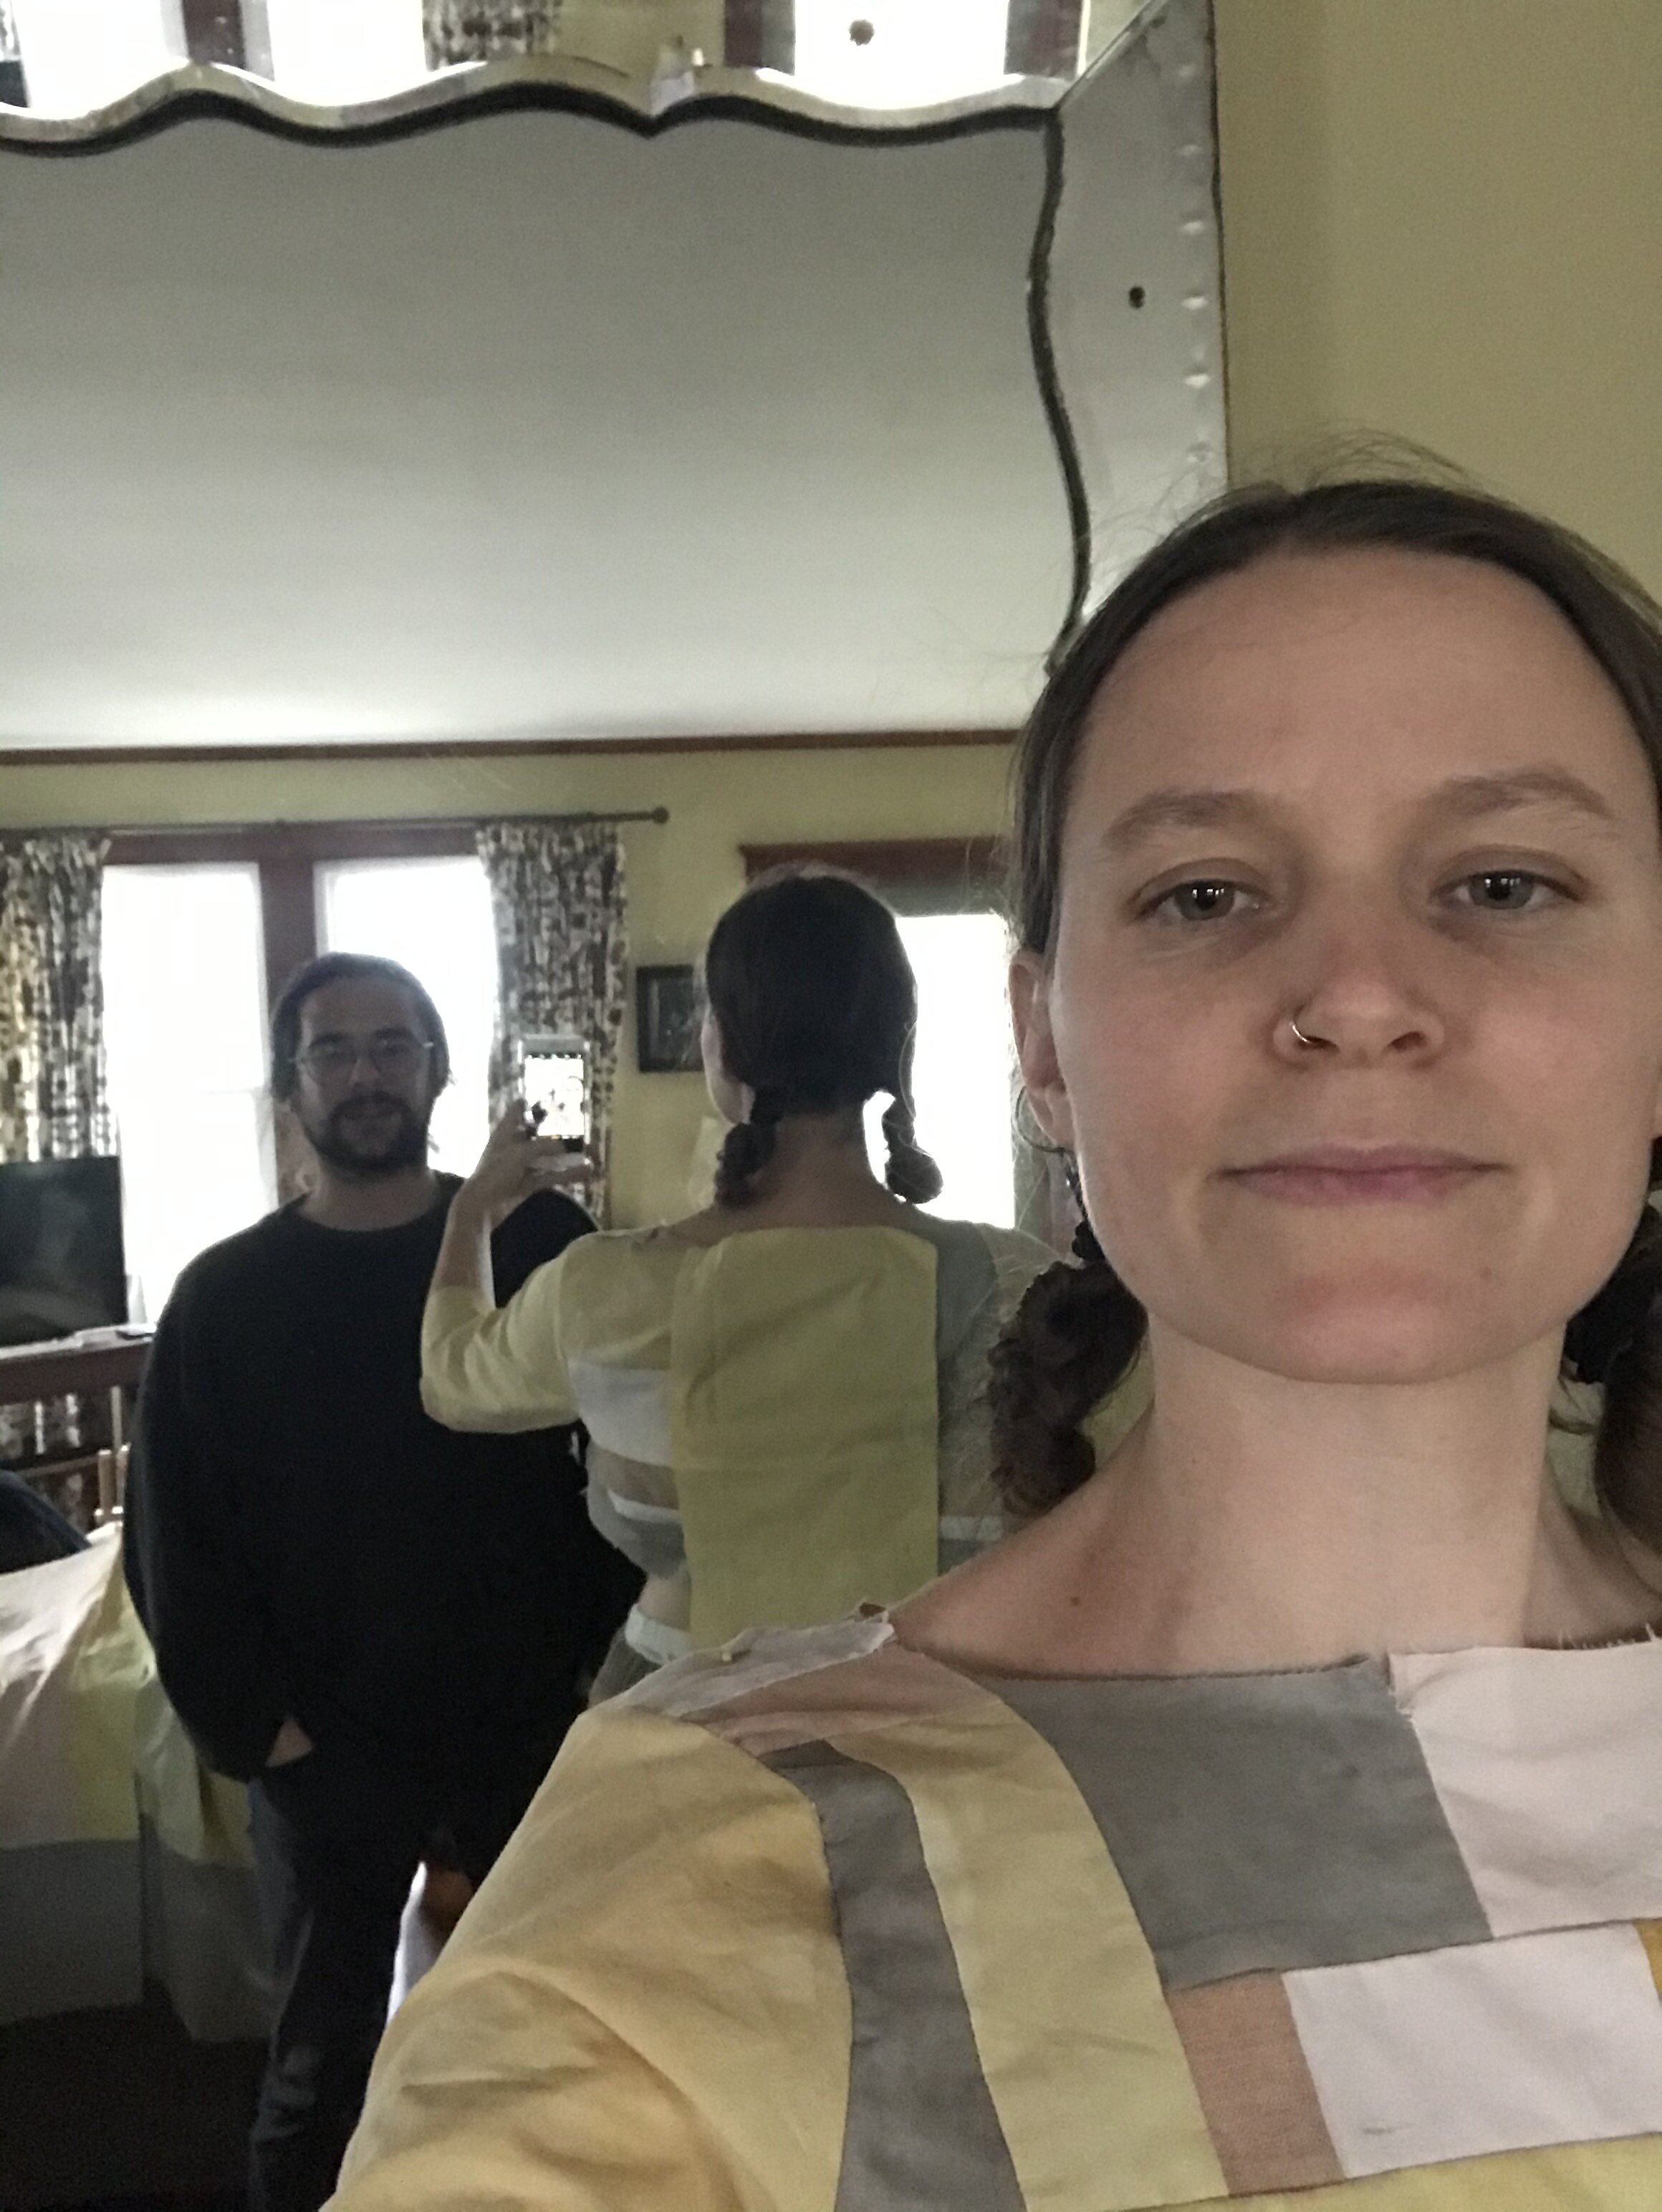
photo by josh kopin
This dress just happened. It wasn’t planned in that I didn’t know what the fabric would become, I just knew I wanted to try patchworking the pieces I’d dyed earlier this year and that I thought it would be neat to turn them into something wearable(ish) - (for more on that, see here).


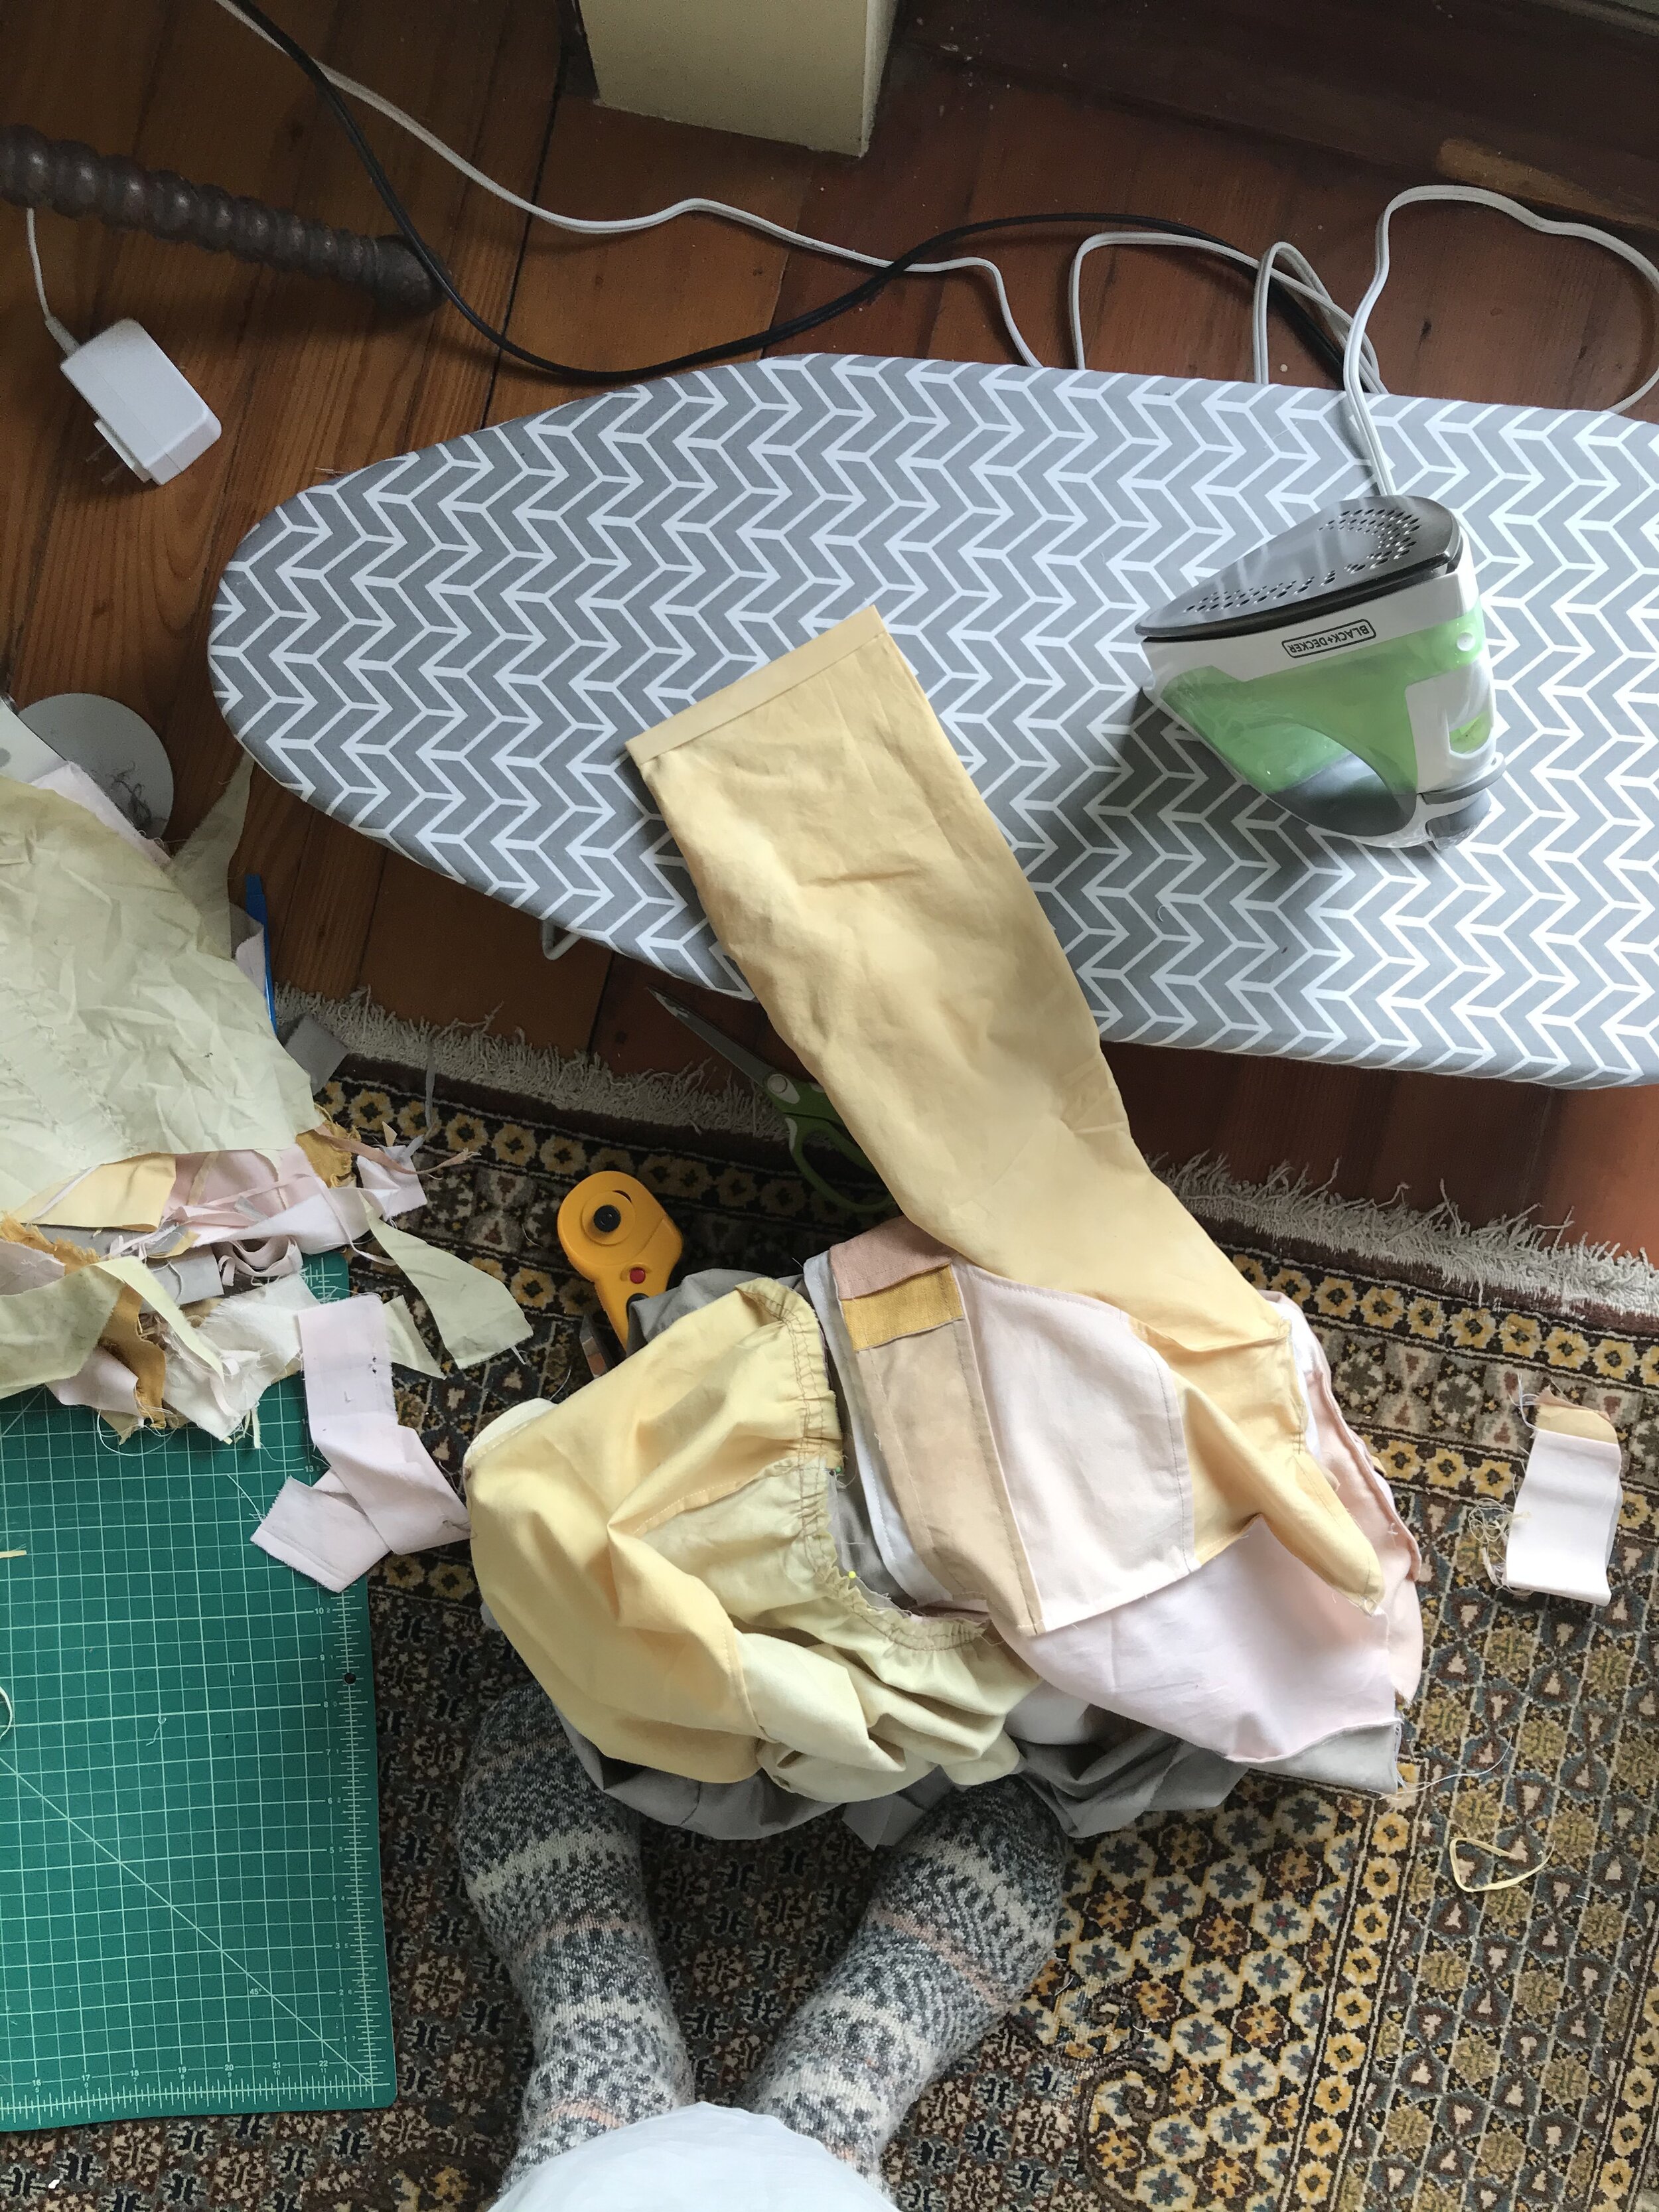
Josh and I were staying in a little house on the coast of Maine the week leading up to the presidential election. We worked our dayjobs, we spent a bit of time bundled up walking along the coast, we both worried about what was to come. I had a sudden burst of “I really need to do something with my hands right TF now” & so I followed that impulse to the Airbnb’s iron & janky ironing board, pulled out my scraps and my machine, and started pulling the pieces together during my lunchbreaks and in the hours after work finished, an act of self-soothing when my concern was through the roof.
I pulled out my 100 Acts of Sewing Dress No. 2 pattern (this is the one dress pattern I own). I figured I’d use the bust of the tracing I have. It turns out I didn’t actually pack the tracing, so I decided to trace the pattern out. I traced an XS this time, because, against my better judgment, I thought that I had a “lot of extra room in the S” (smdh)*. I looked furiously around thinking about what I could use to trace, and realized the host had left a newspaper, so newspaper tracing it was, and I taped it up to a glass door and traced it out (cue childhood memories).
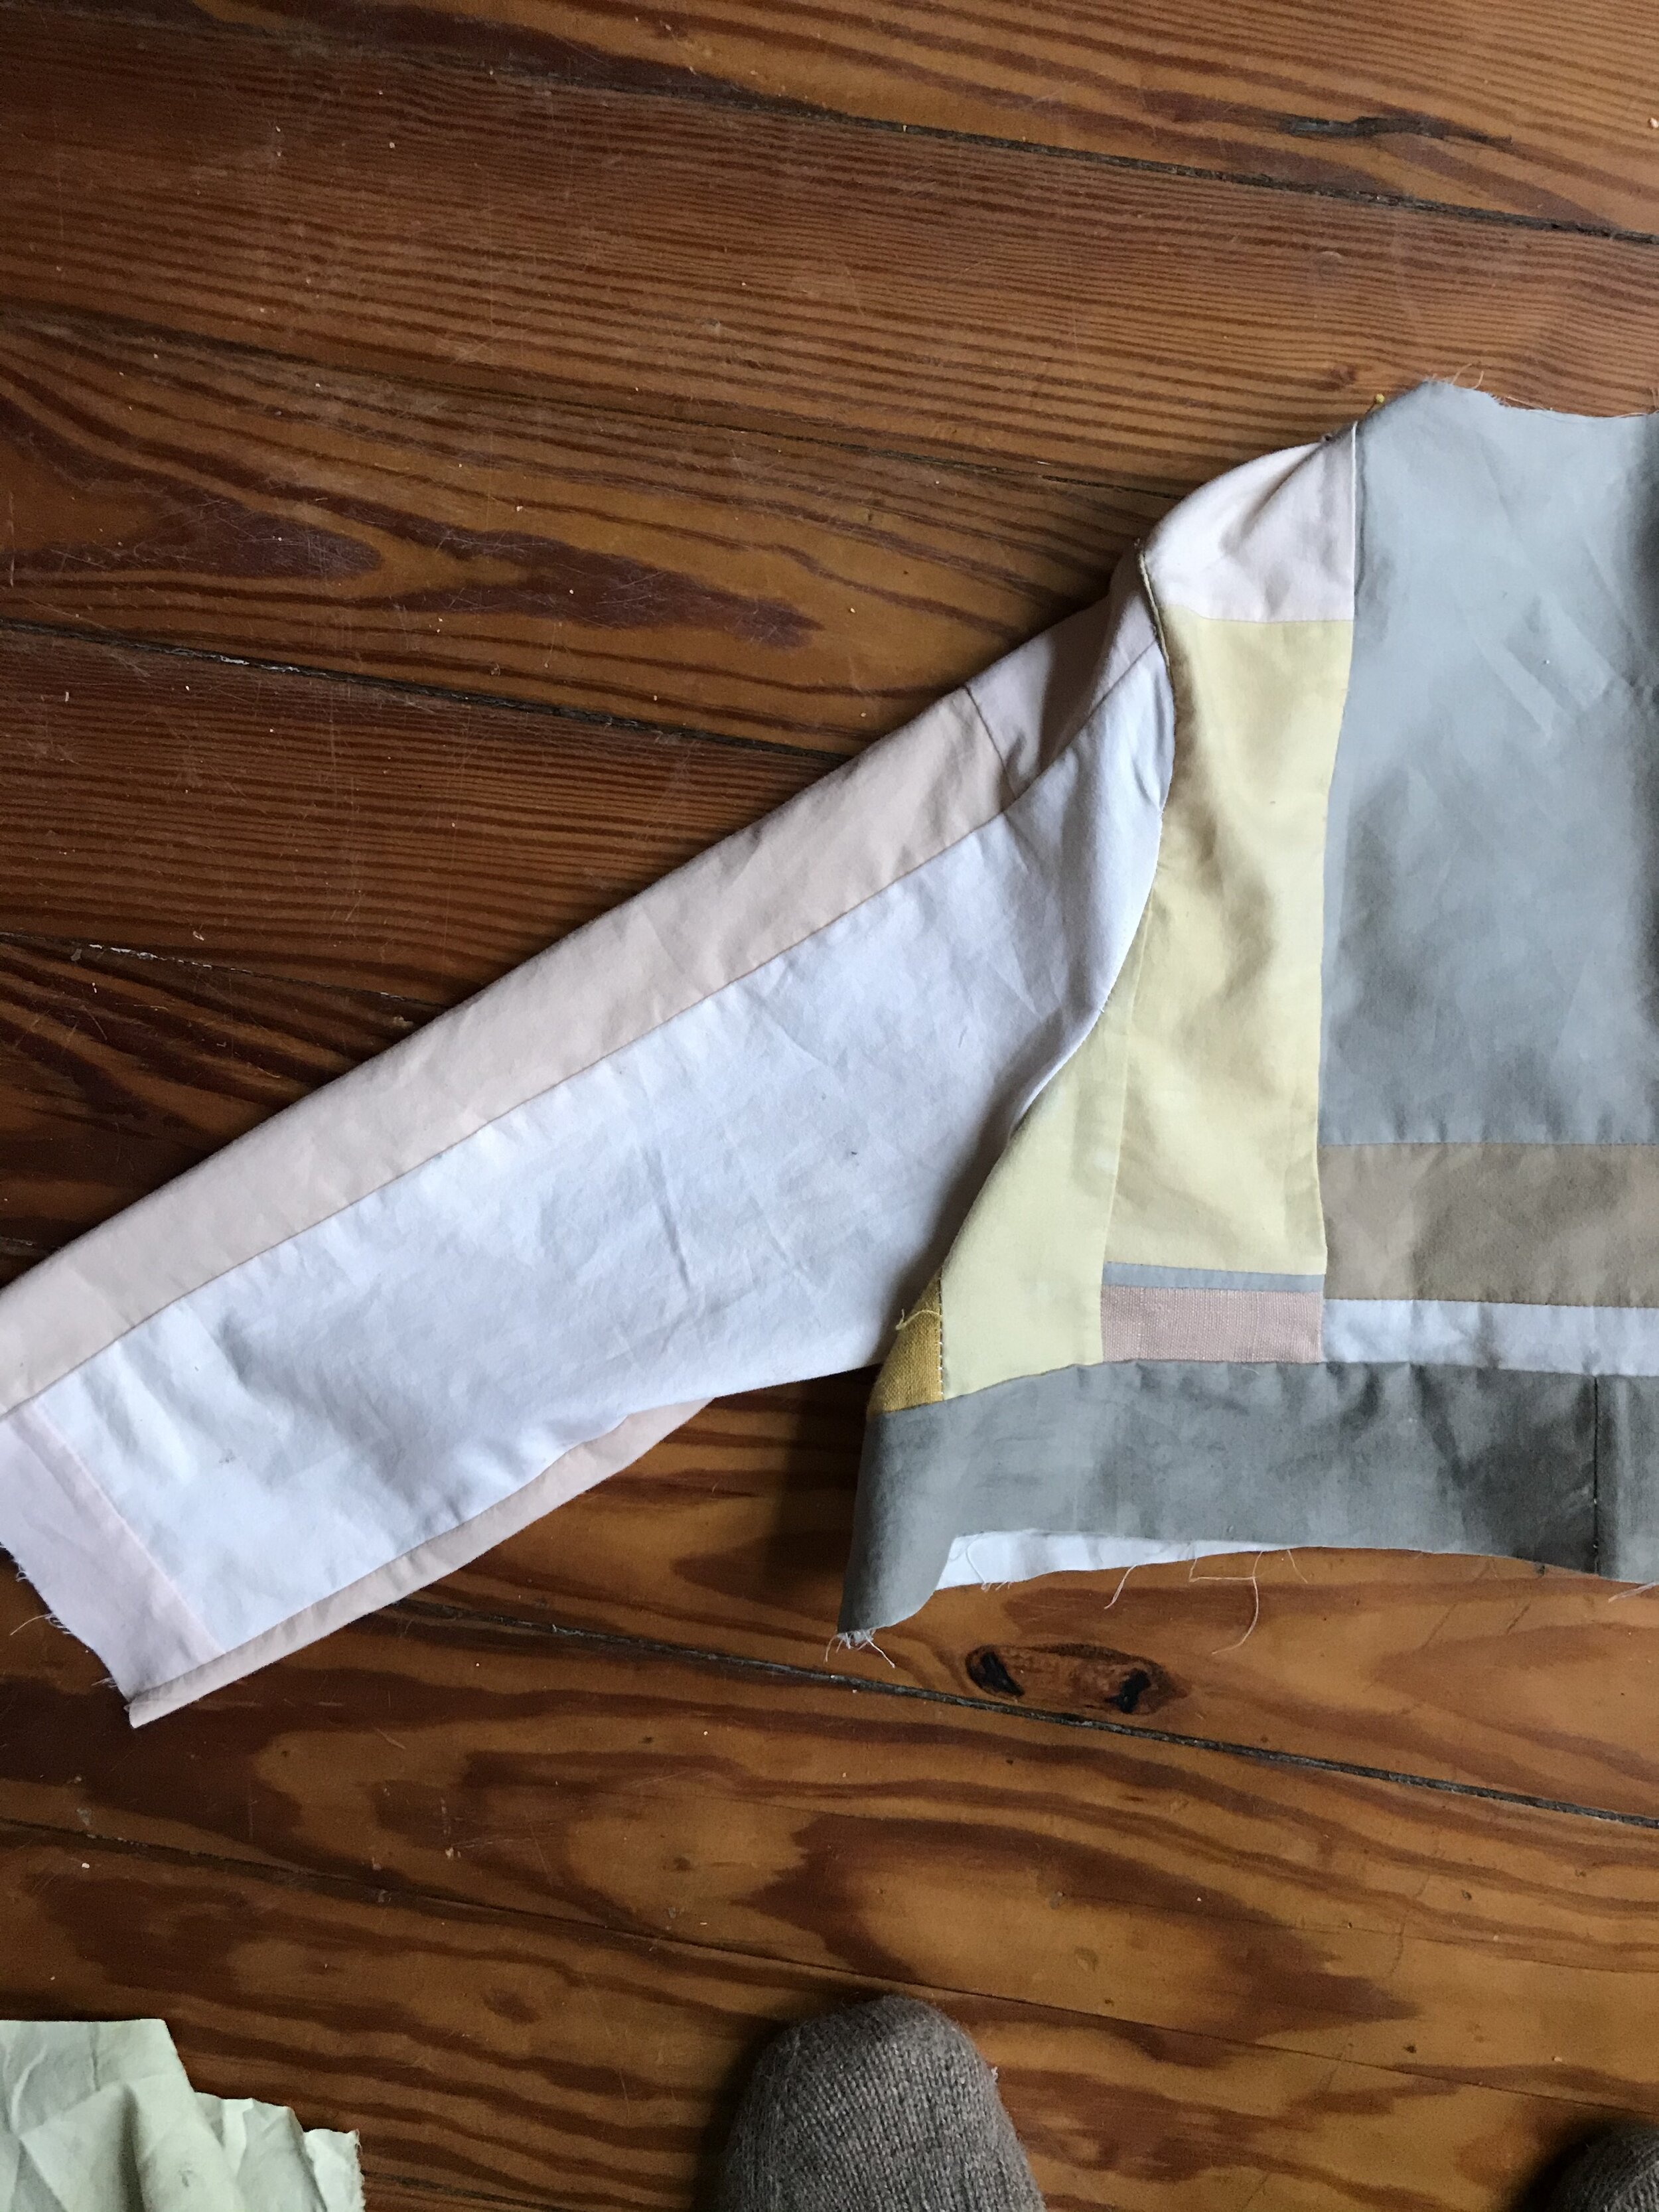
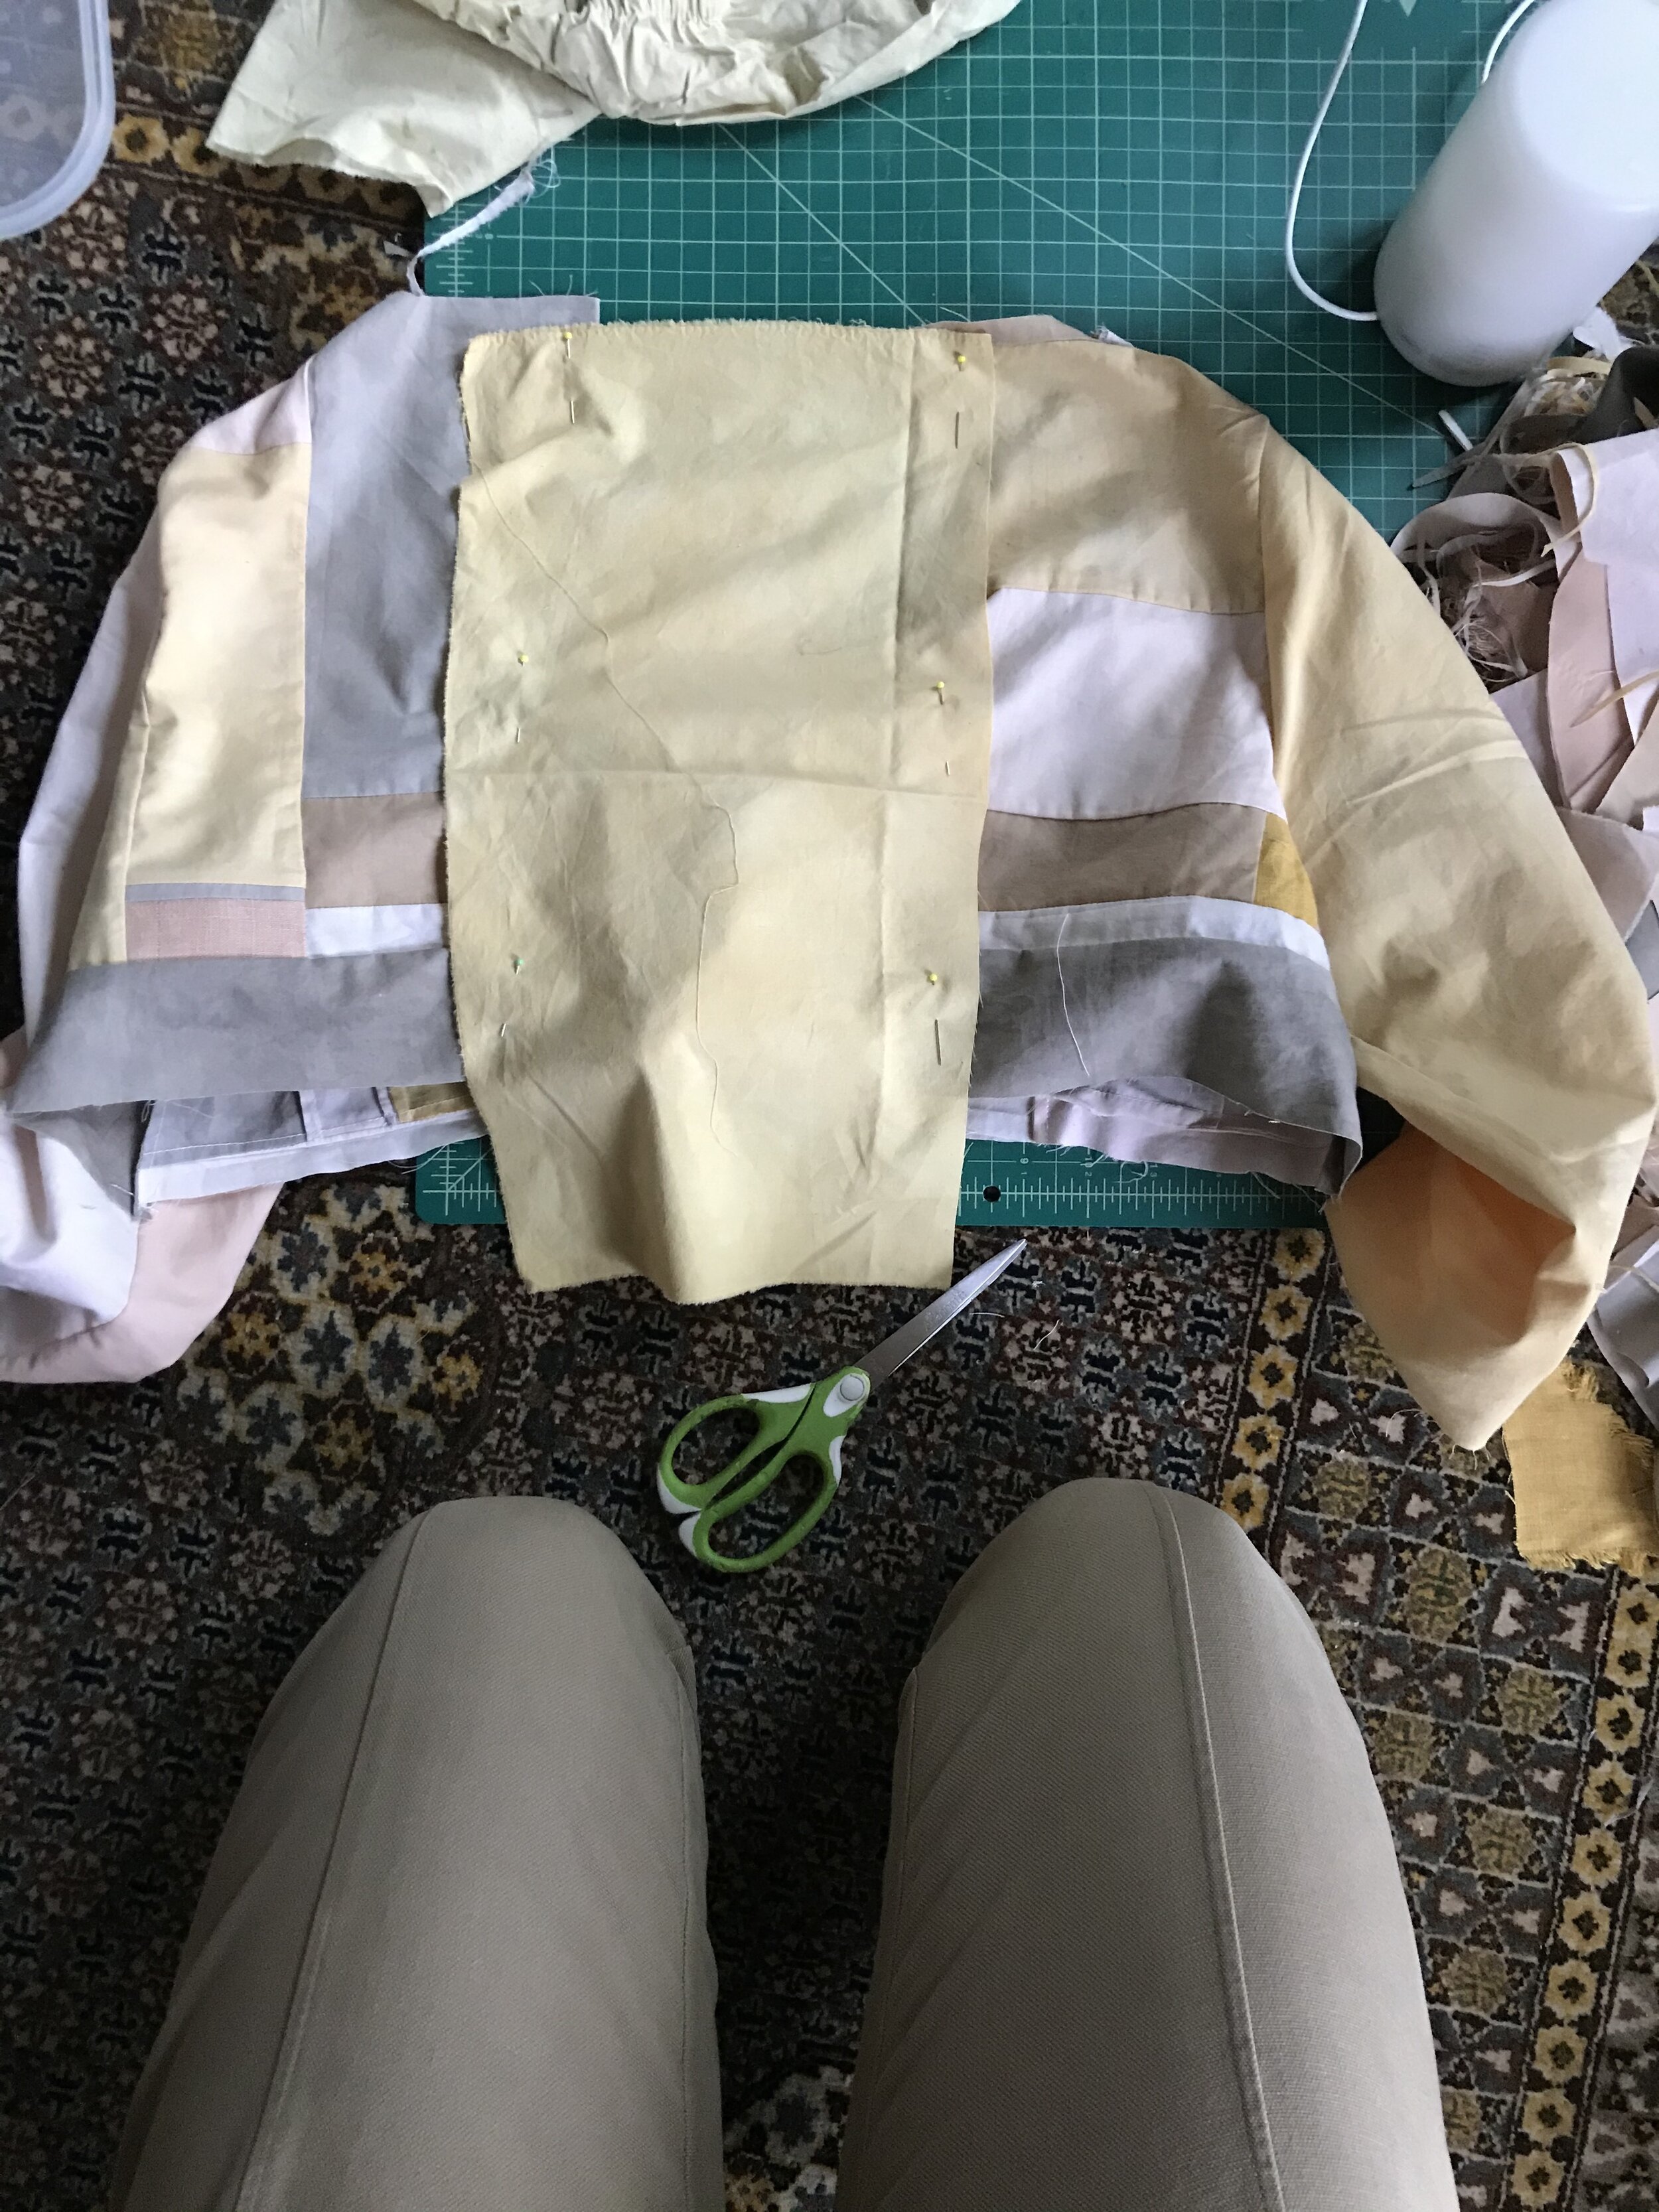
Just like for the last puff sleeve dress I made, I just traced the bodice area, since I knew I would be making a gathered skirt (which, if you don’t already know, is a rectangle of whatever the fuck size you want, just scrunched at the top, which has probably been my biggest sewing revelation). I cut out the bodice piece and started patchworking my pieces together, just responding to the pairings as I went.
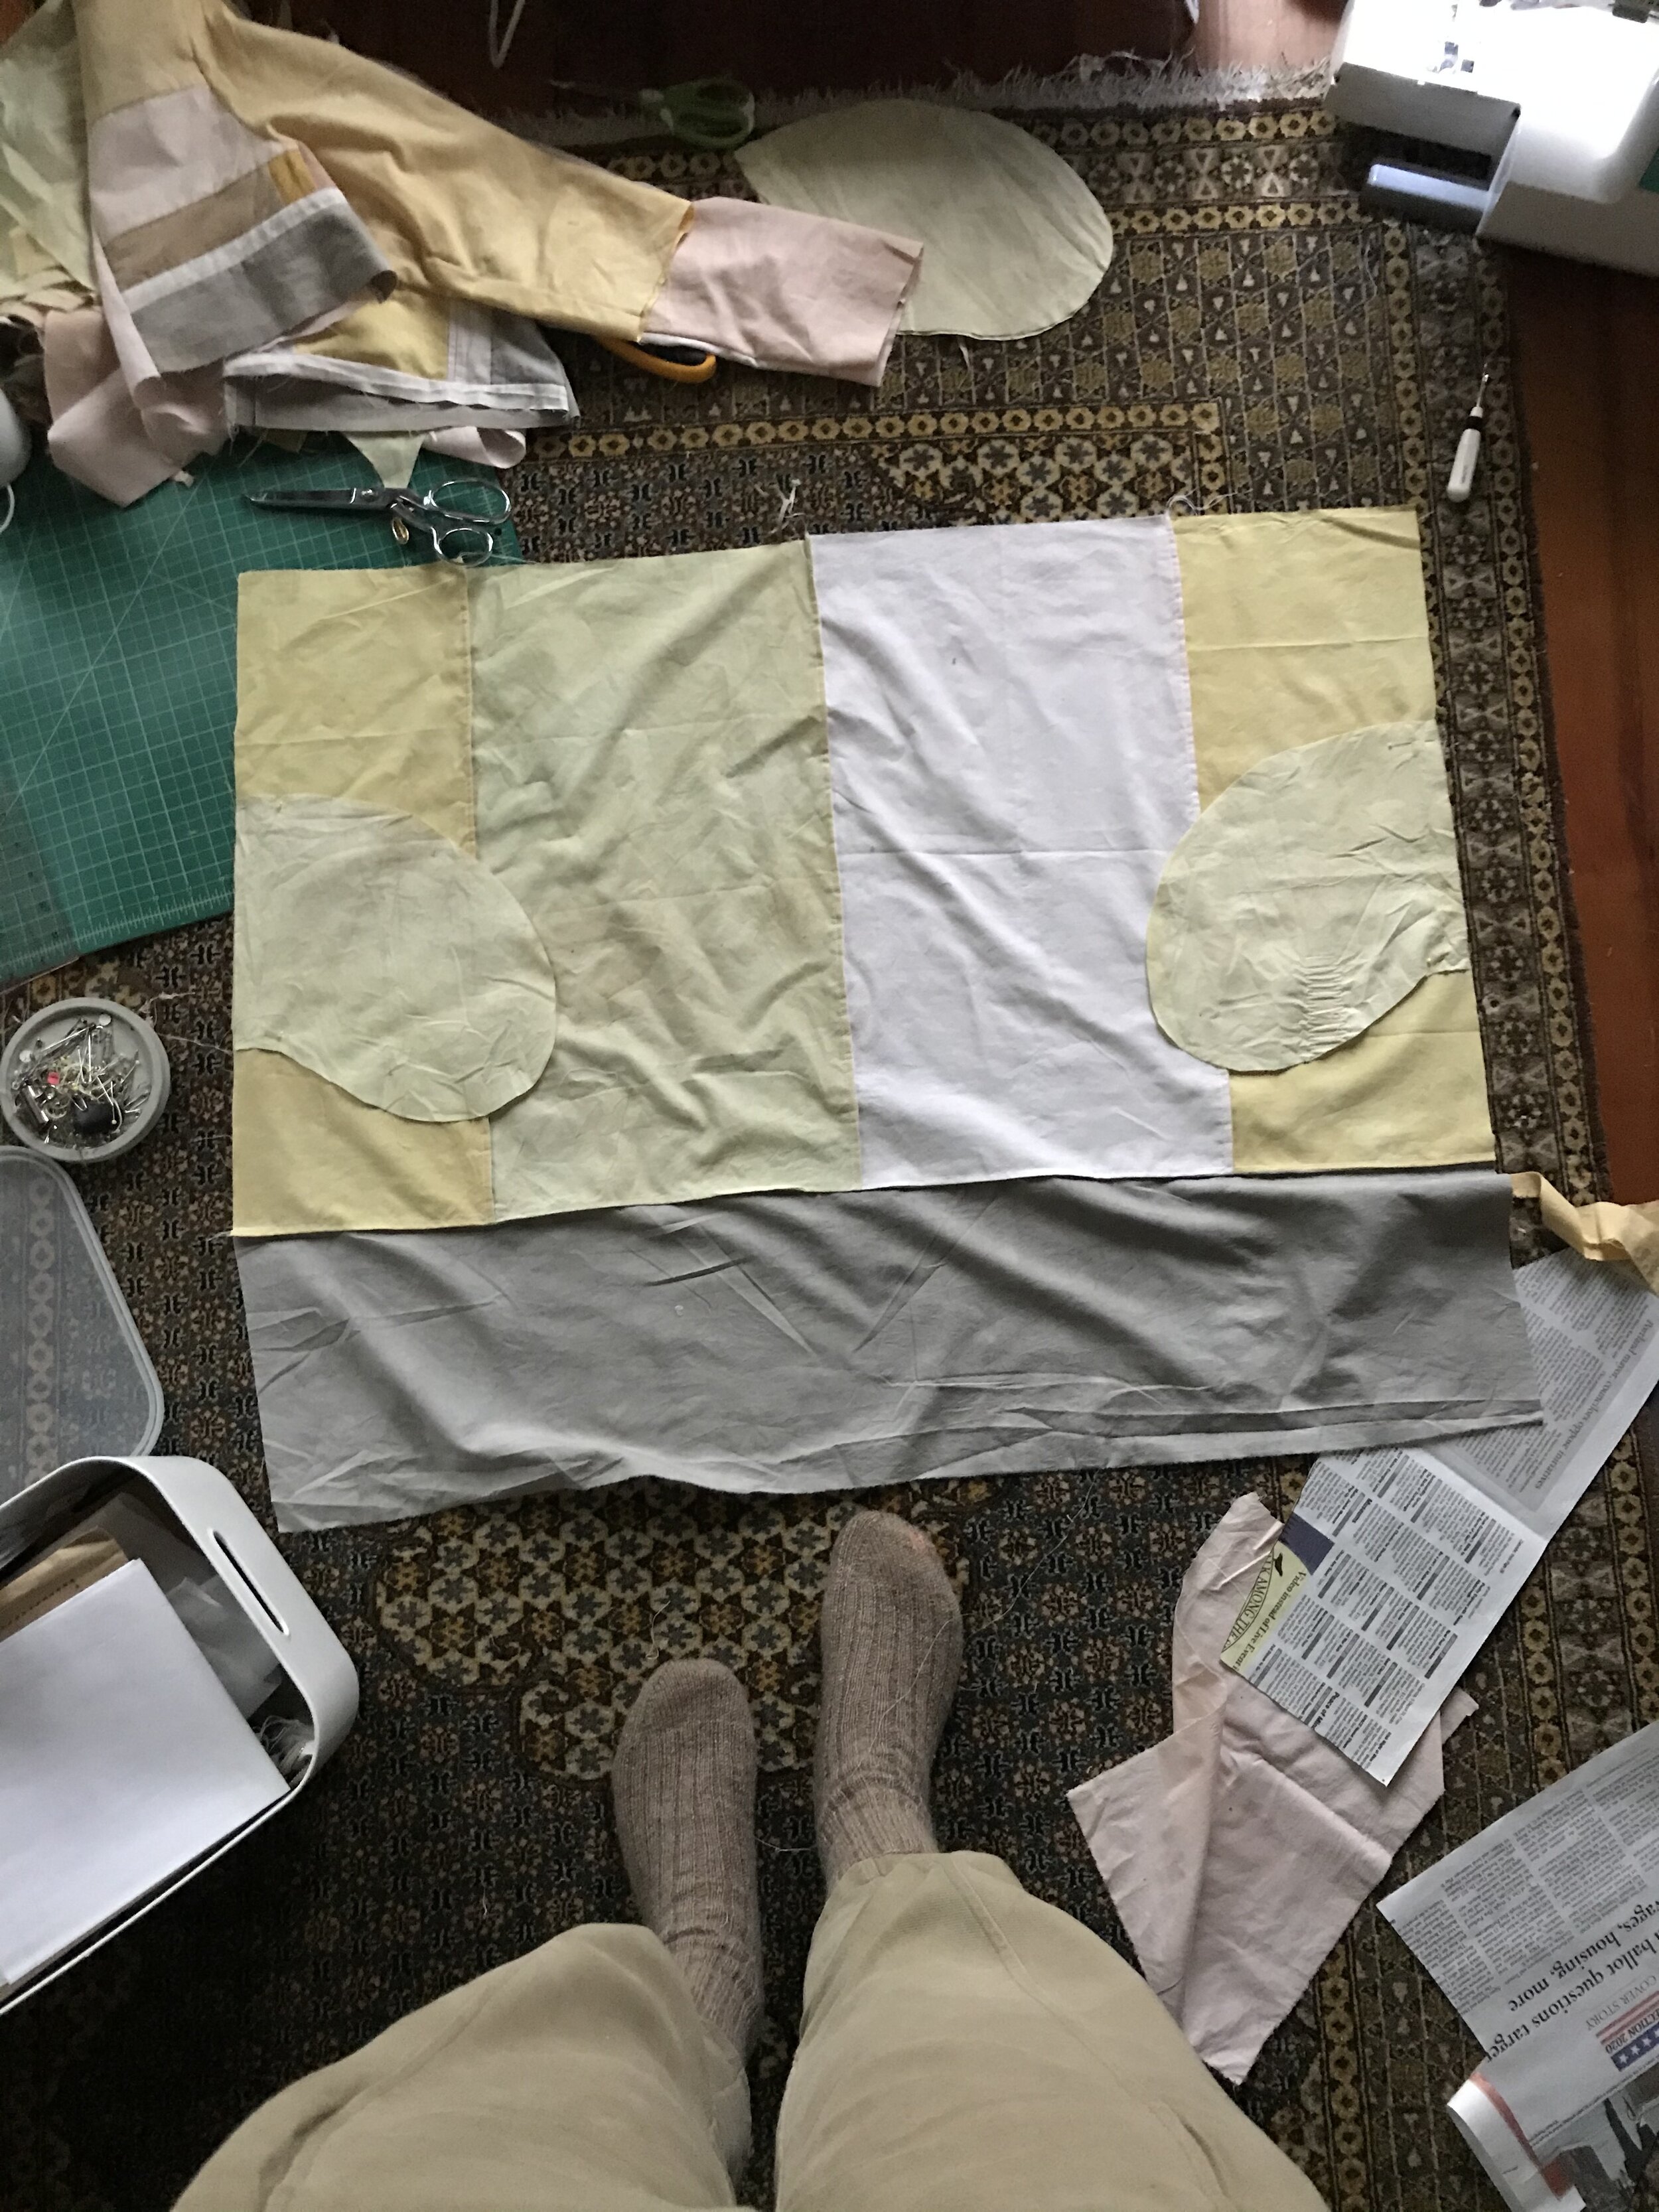
I thanked past Ani for ripping many of the rectangles in the same dimensions and pieced those together to become the gathered skirt. It was too short, and I noticed I had one long piece I’d sort of carelessly ripped & dyed, which made a good border piece for the skirt.
I should mention that I french seamed all (except 2) seams in this dress. I got this inclination from Elbe Textiles - who has a really great (and funny, I might add) blog post about patchwork sewing for clothing. In the past, I’ve just sewn my patchworks without finishing the seams (because I learned to patchwork in the context of quilting, for which the insides of the work don’t really matter, they’ll be sandwiched inside a whole thing). This time, I was determined to make something more wearable & hearty & because I am a slight masochist and I don’t own a serger, I decided to french seam all (but 2) of my seams. What I enjoyed about this was that I really got to practice french seams, and I feel much less afraid of them now. If you are, like me, mostly afraid of most sewing things, may I suggest that you try sewing a whole bunch of french seams on an old ripped up bedsheet so that the stakes are low?

I learned how to french seam the set-in sleeve from Grainline Studio, and how to make french seamed in-seam pockets (also my first ever in-seam pockets! this feels like such a huge deal to me, I love in-seam pockets!) from In the Folds (fun fact- Em was one of the first podcast guests I ever had!). I should also mention that french seaming all of your patchwork seams also may lead to some bulk & clumsy joins (see my skirt join and some of the seams where multiple french seams came together - learning as we go here).
The dress (and this post) sat since Election Week - with all but the bias binding and a couple of stains to cover with applique finished. I hadn’t felt excited about sewing (maybe because I am still afraid of bias necklines), and I decided not to force it.
The day after New Years 2021, I finally decided to sit down at the machine and sew the binding - Josh gave me a sweet little nudge, asking “is there anything I can do to help you finish the dress?” after he noticed I was fretting about it. So I finally just did it - I sat down at the machine with yet another Grainline Studio tutorial, and I slowly made it happen.
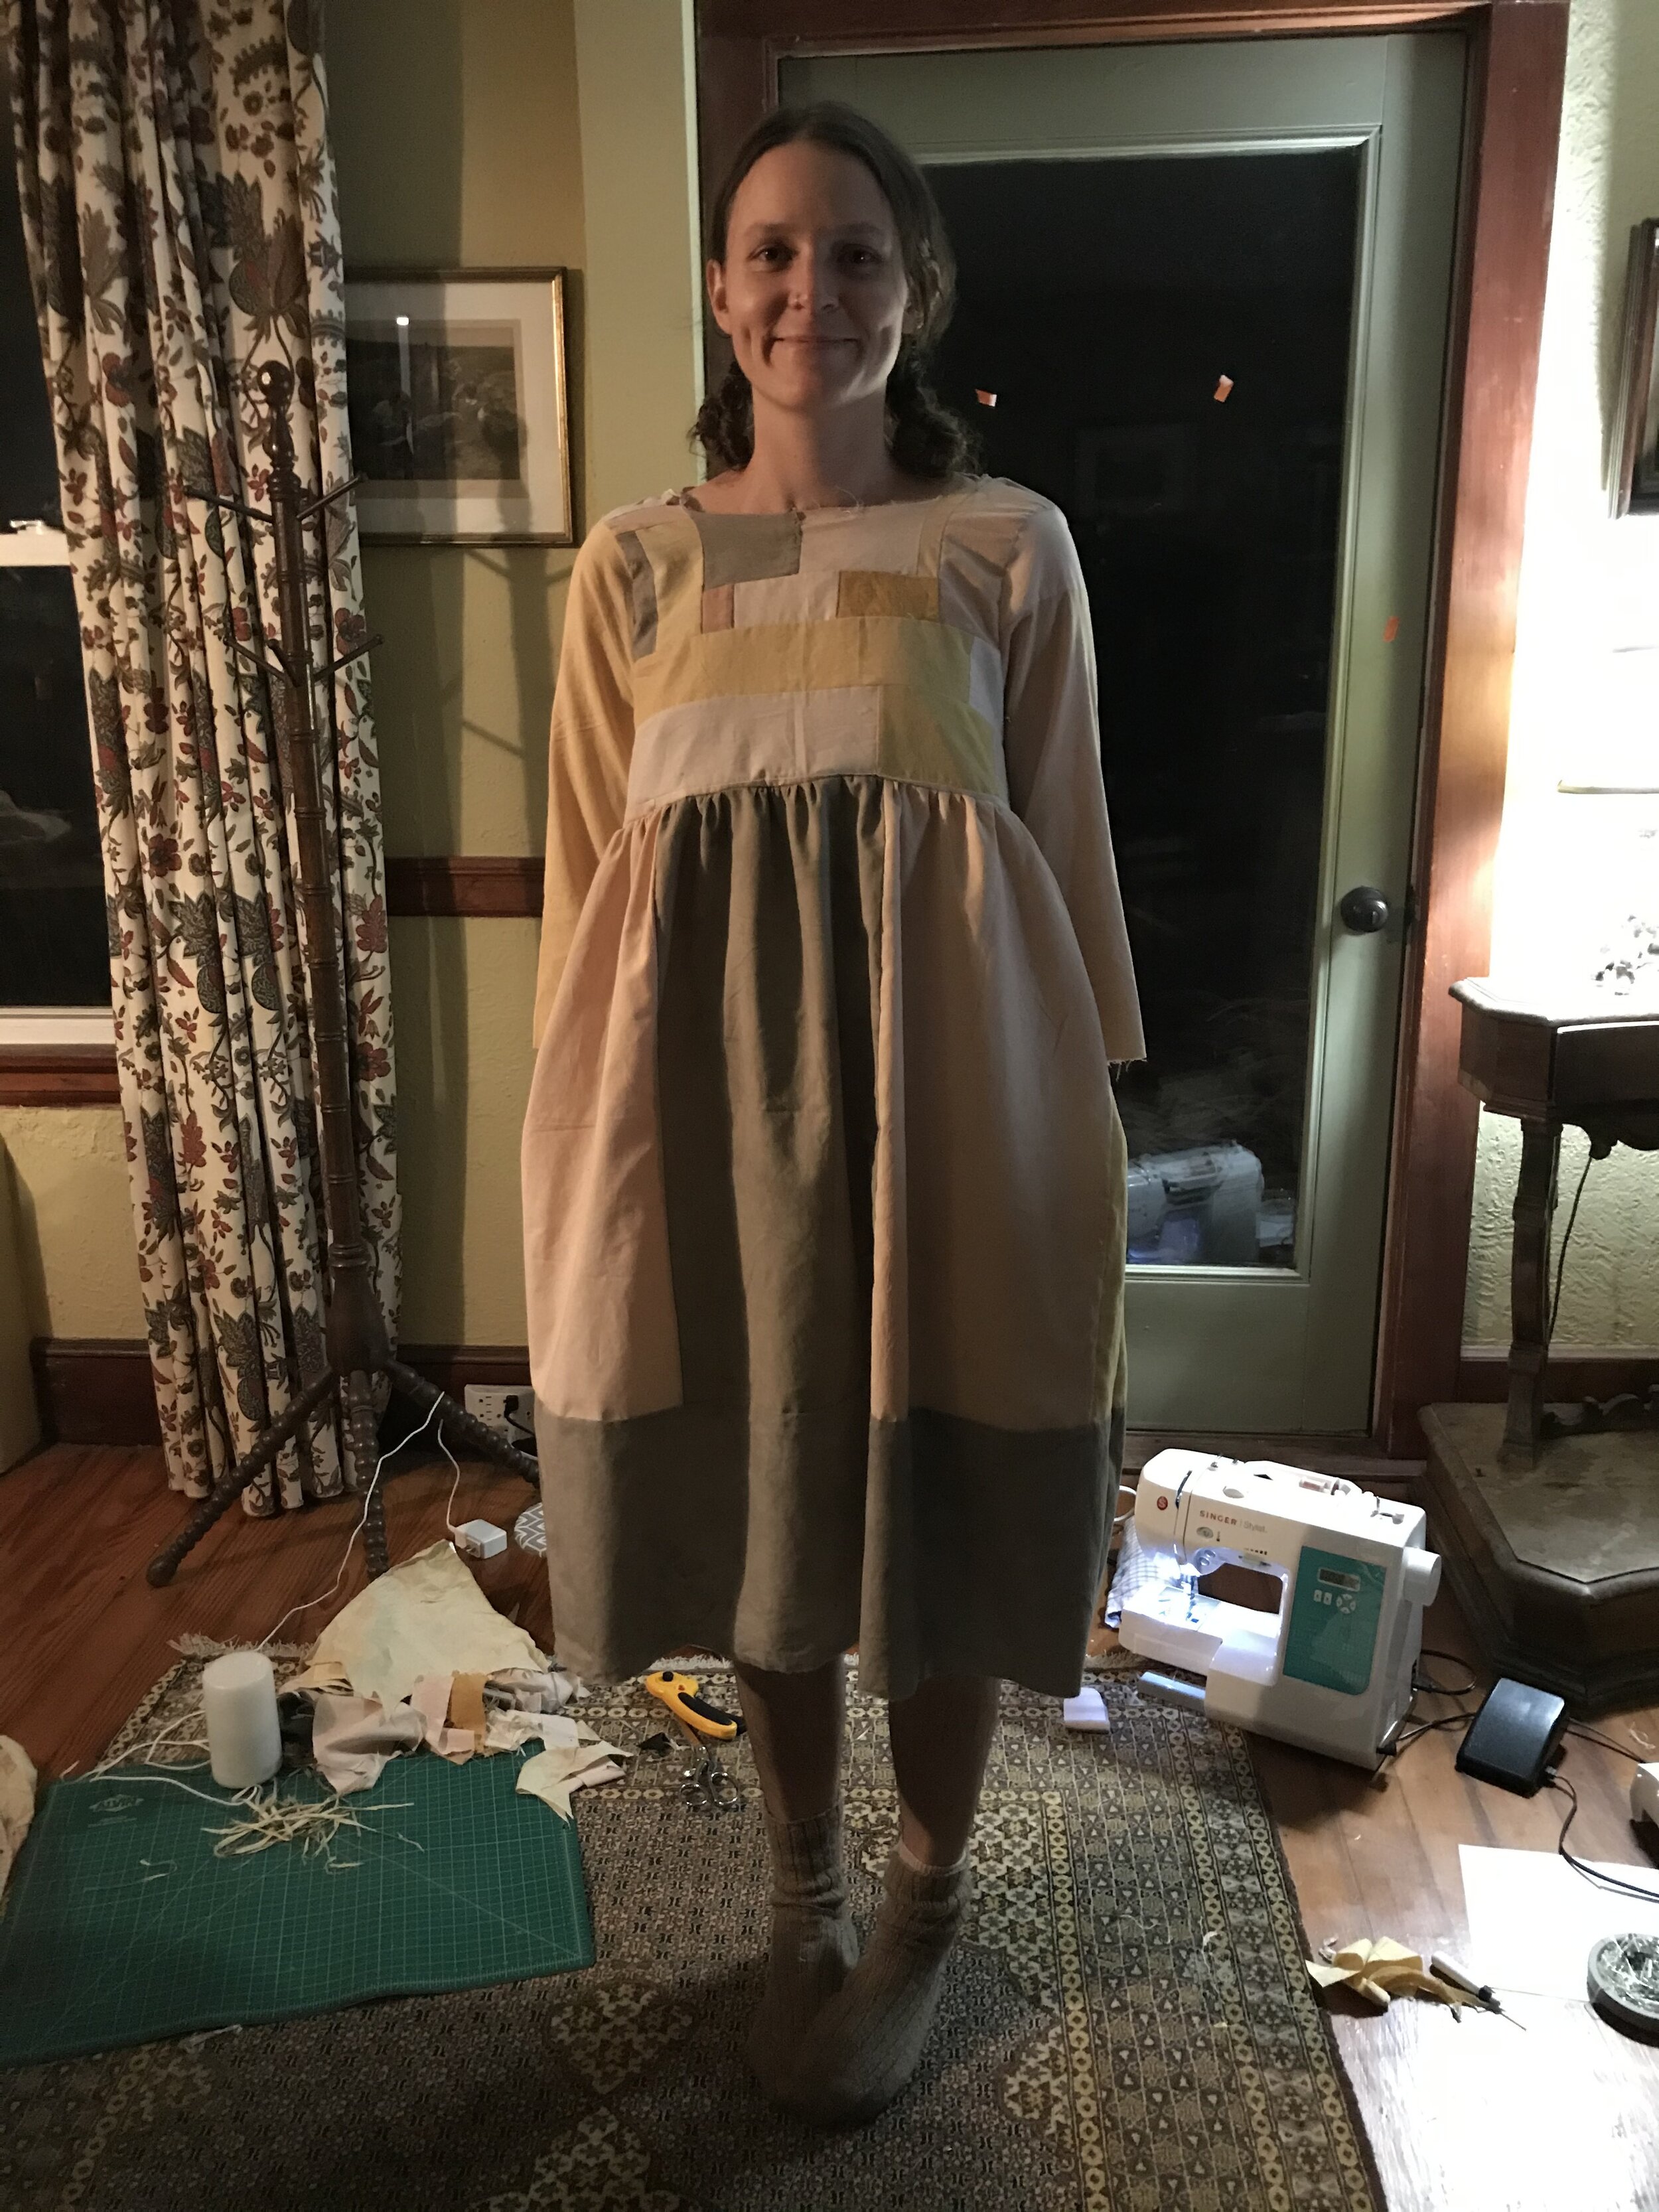
I’m so proud of this neckline, y’all! Not because it fits - it doesn’t, like really at all (because I cut the wrong size dress for my arms/shoulders), but because this is the best-looking binding I’ve done so far - it sits flat, I didn’t catch any material and cause any puckers. I’m really quite proud of it in spite of its improper fit.

I finished covering one of the larger stains using applique and a scrap from cutting the dress out. I referenced All Well Workshop’s youtube video on applique and am proud of that first attempt at applique, as well.
And so that’s what I did. I made a dress out of a target bedsheet & the fit is “off”, but I love it. I love how much I learned and how interesting it turned out.
*It turns out I did not, in fact, have “a lot of extra room” & when I attached the sleeves, the bodice rode up & did not fit. we “fixed” that by opening up the back and adding about a 4 inch panel (which truthfully did not fix it, but it did make it more wearable).